Getting started with Mwalimu Ease
This tutorial takes you from a brand-new Mwalimu Ease account to a working school portal: your classes are set up, learners are enrolled, and teachers can sign in. Budget about 15 minutes.
1. Register your school
Head to the homepage and click Register School. You'll create the first admin account — this becomes the head-of-institution or principal login that controls everything else.
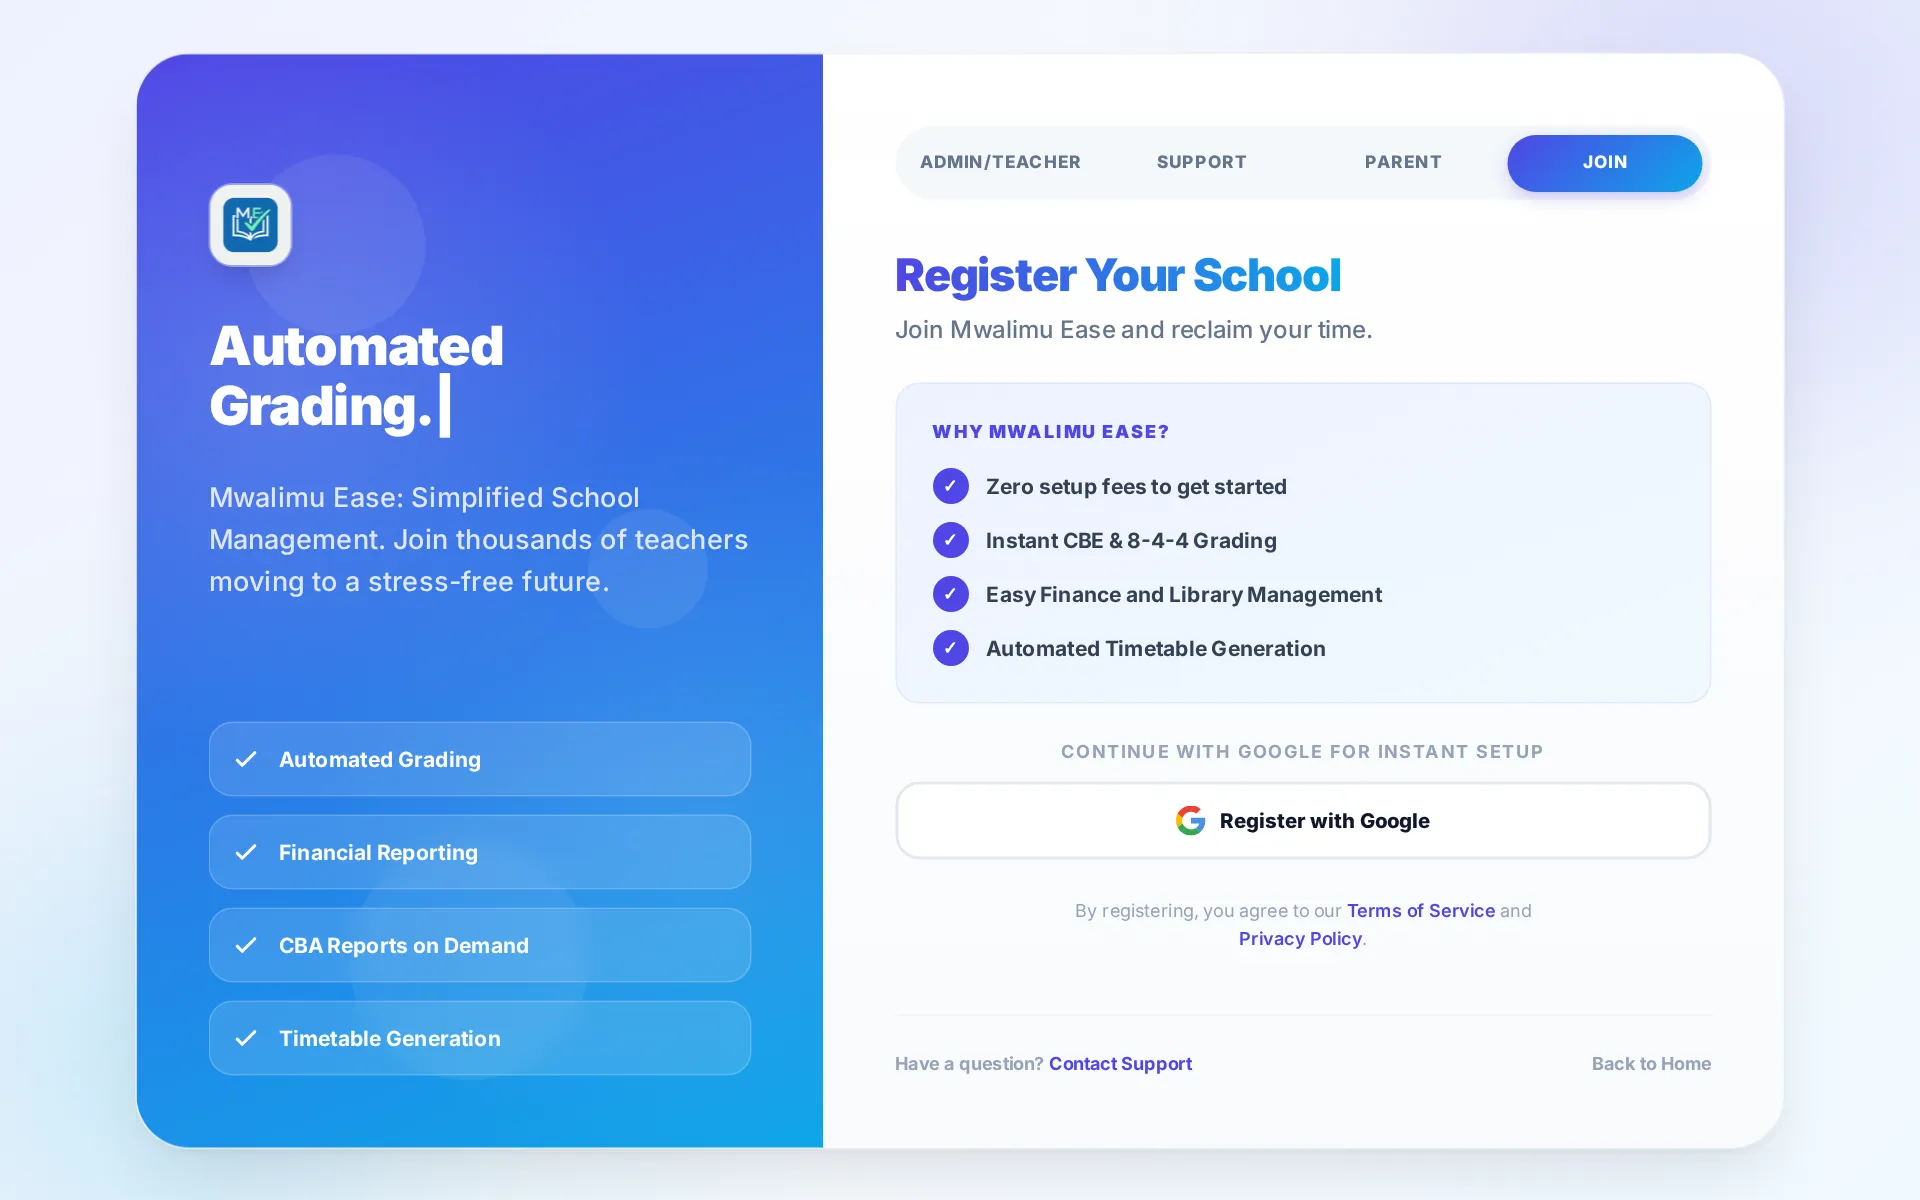
- Use an email address the office checks — receipts and alerts go there.
- Pick a short school code (e.g.
KSW001). Parents and the learner exam portal use it to find your school.
2. Sign in and run the setup wizard
After registering you're signed in automatically. On first login the setup wizard walks you through the essentials: school profile, academic terms, and your grade structure.
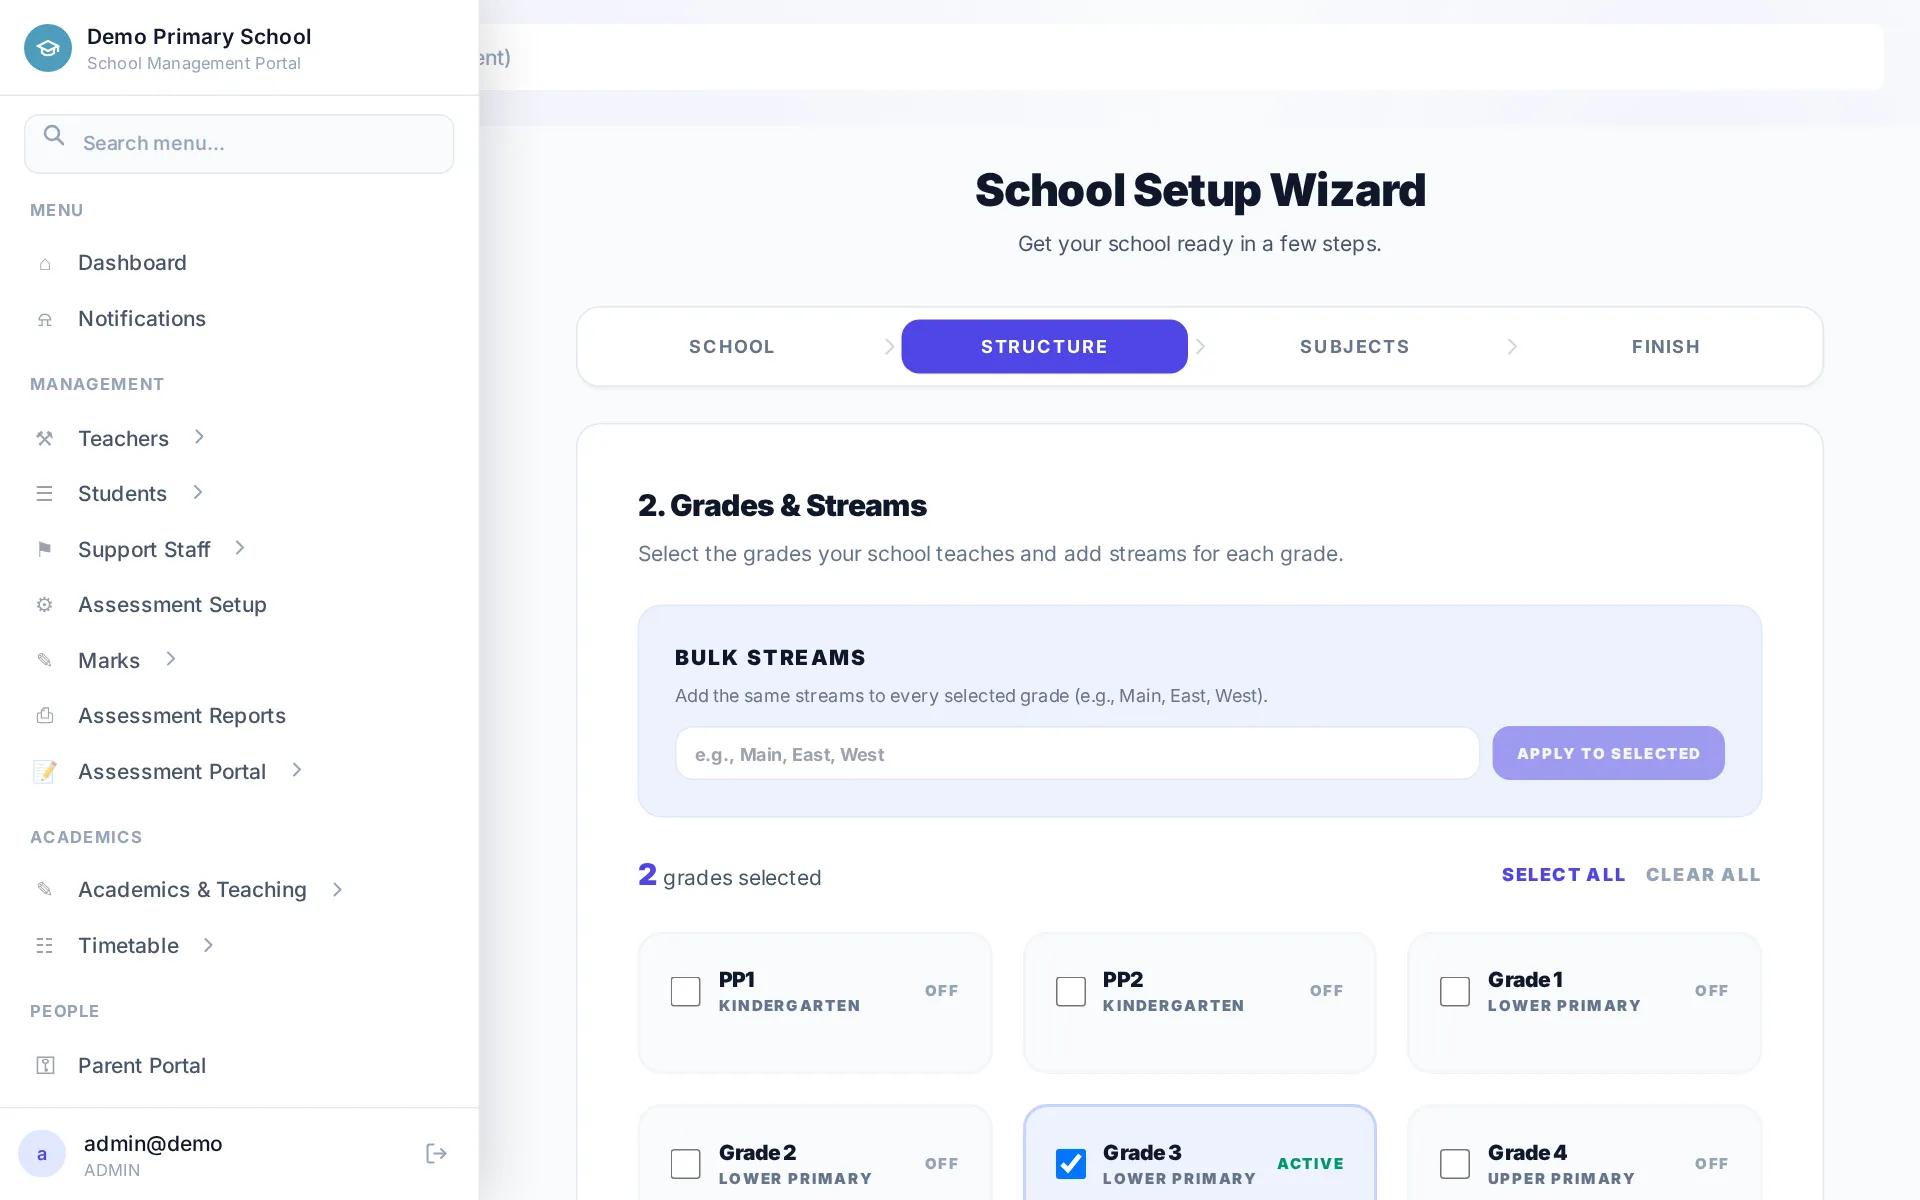
Grade 7, PP1, Form 3. The system detects the learning stage (Primary / Junior School / Senior School) from the name, and that drives timetables, assessments and report cards.
3. Meet your dashboard
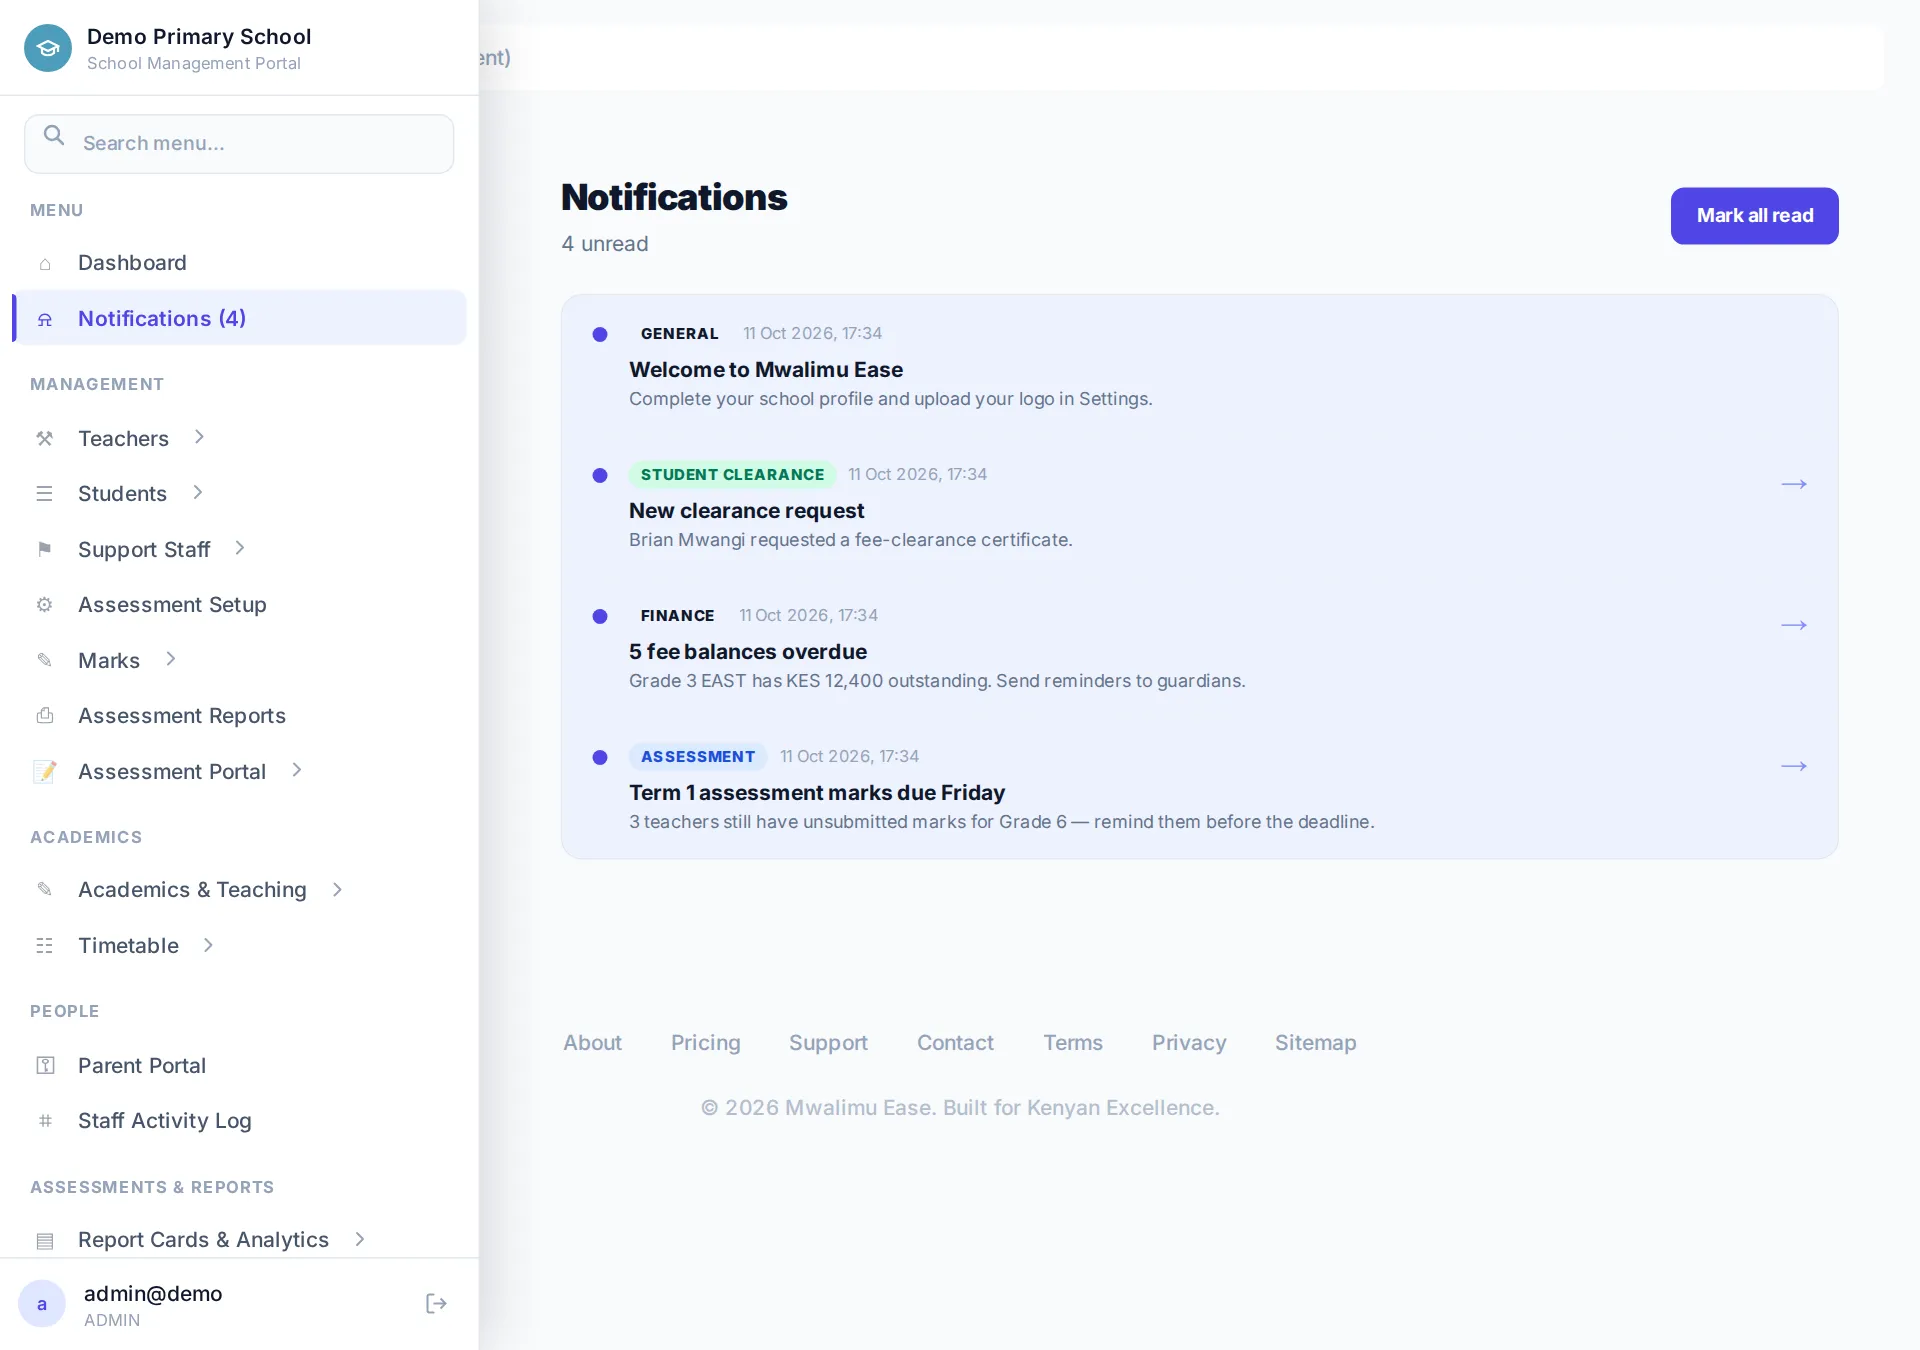
The dashboard is your daily landing page. Stat cards show enrolment, collections and today's alerts; the module grid opens each portal.
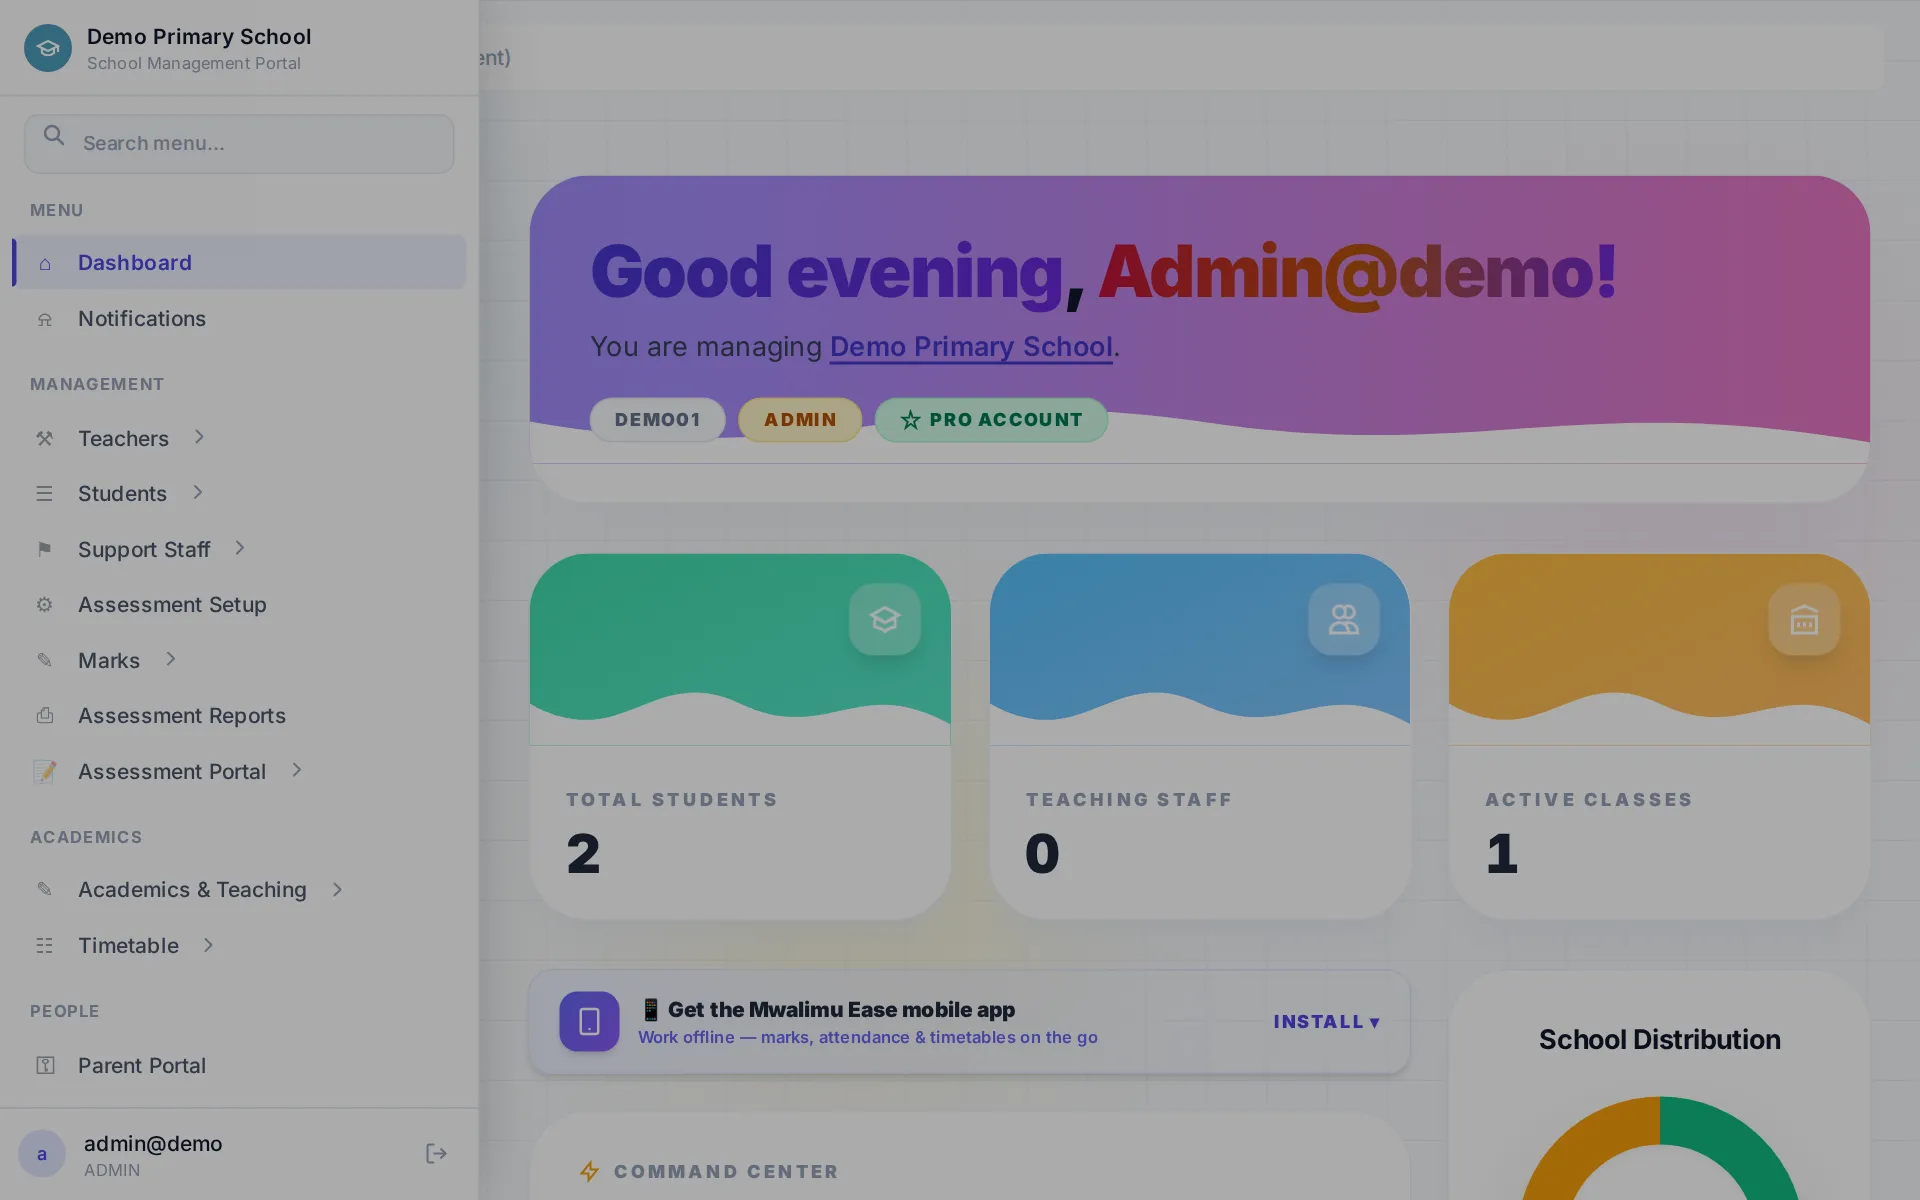
The bell icon at the top is your notification centre — assessment deadlines, clearance requests and system alerts land there.
4. Add your students
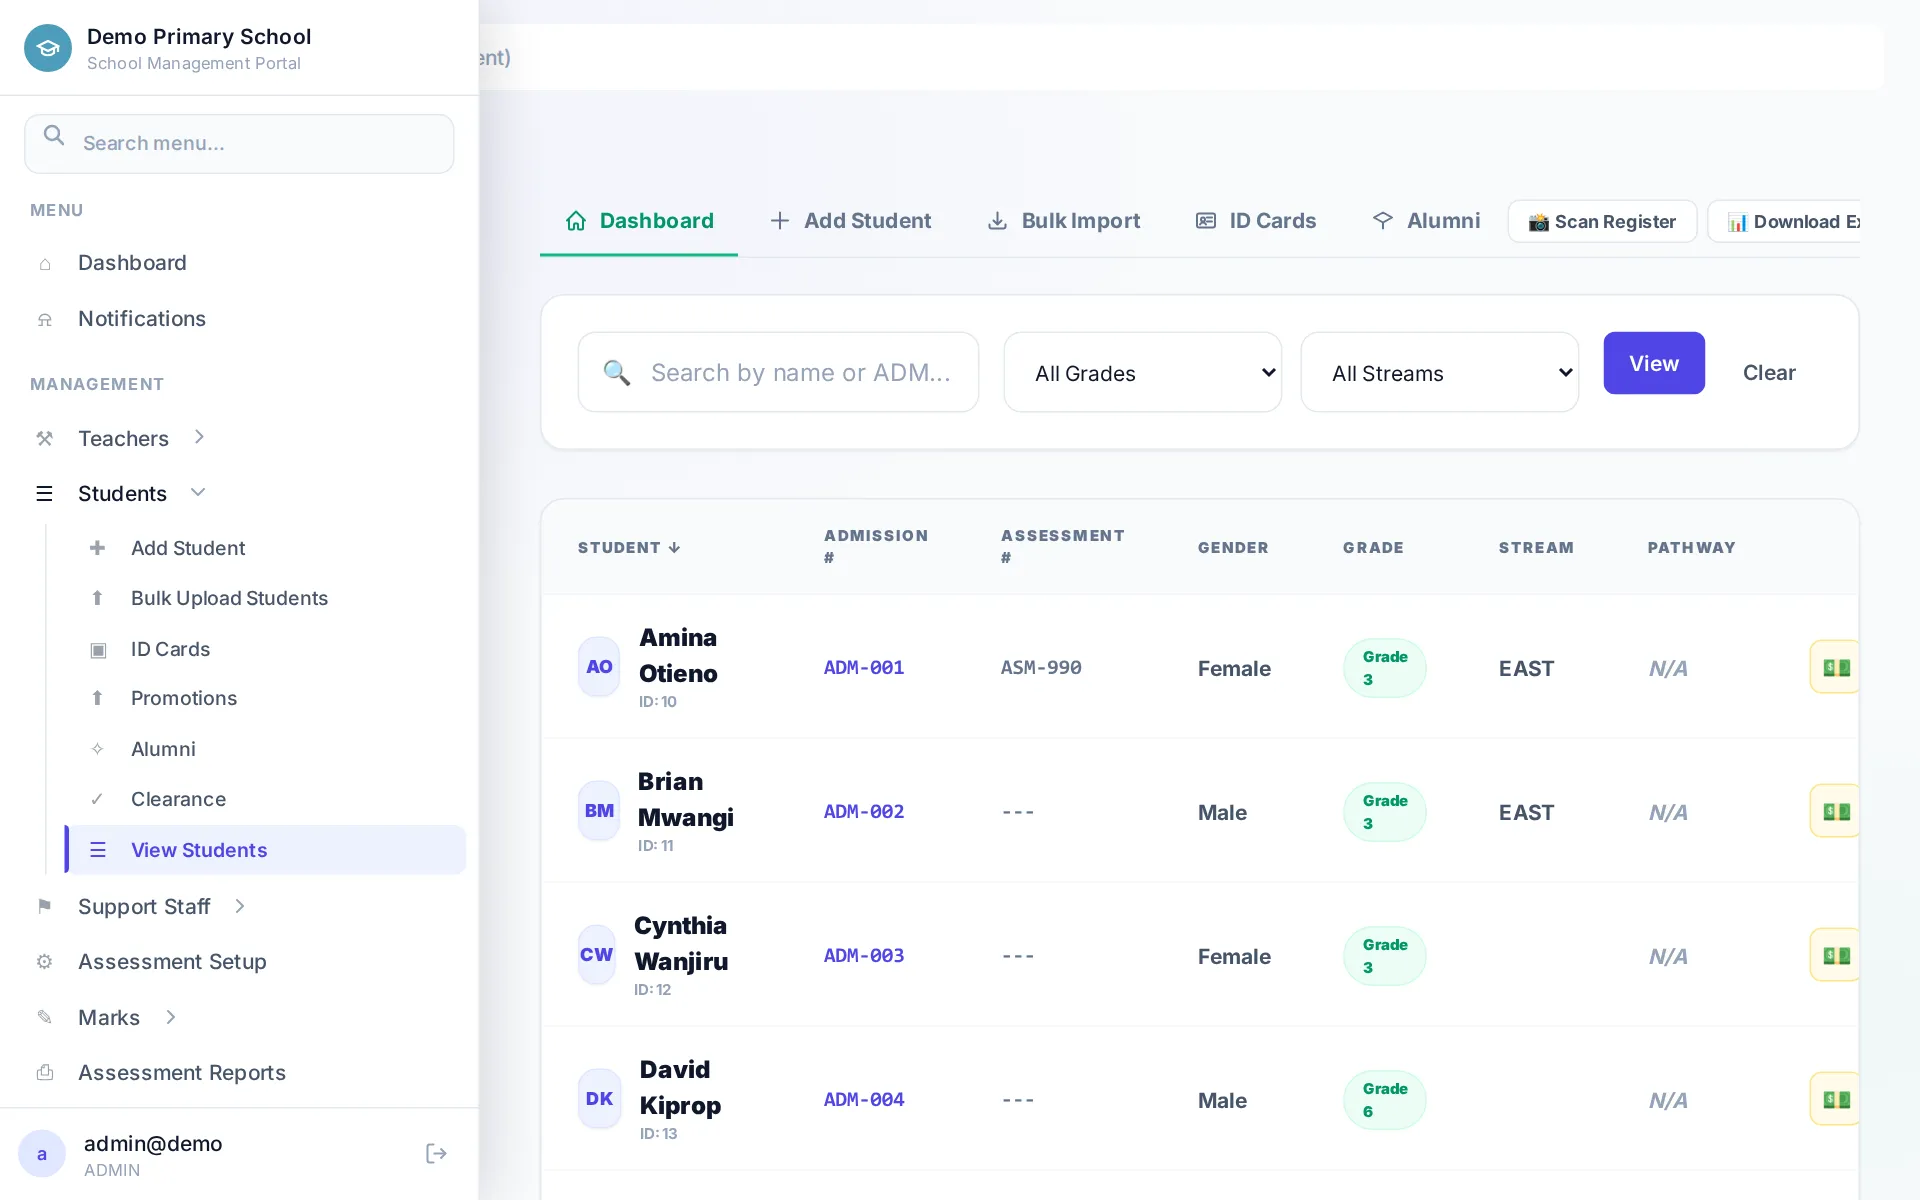
Open Students from the dashboard. You can add learners one at a time with Add Student, or import a whole register in one go:
- Click Bulk Upload on the students page.
- Download the Excel template, fill in names and admission numbers, and upload it back.
- Review the flagged rows and confirm — learners appear in their classes immediately.
5. Add teachers and assign subjects
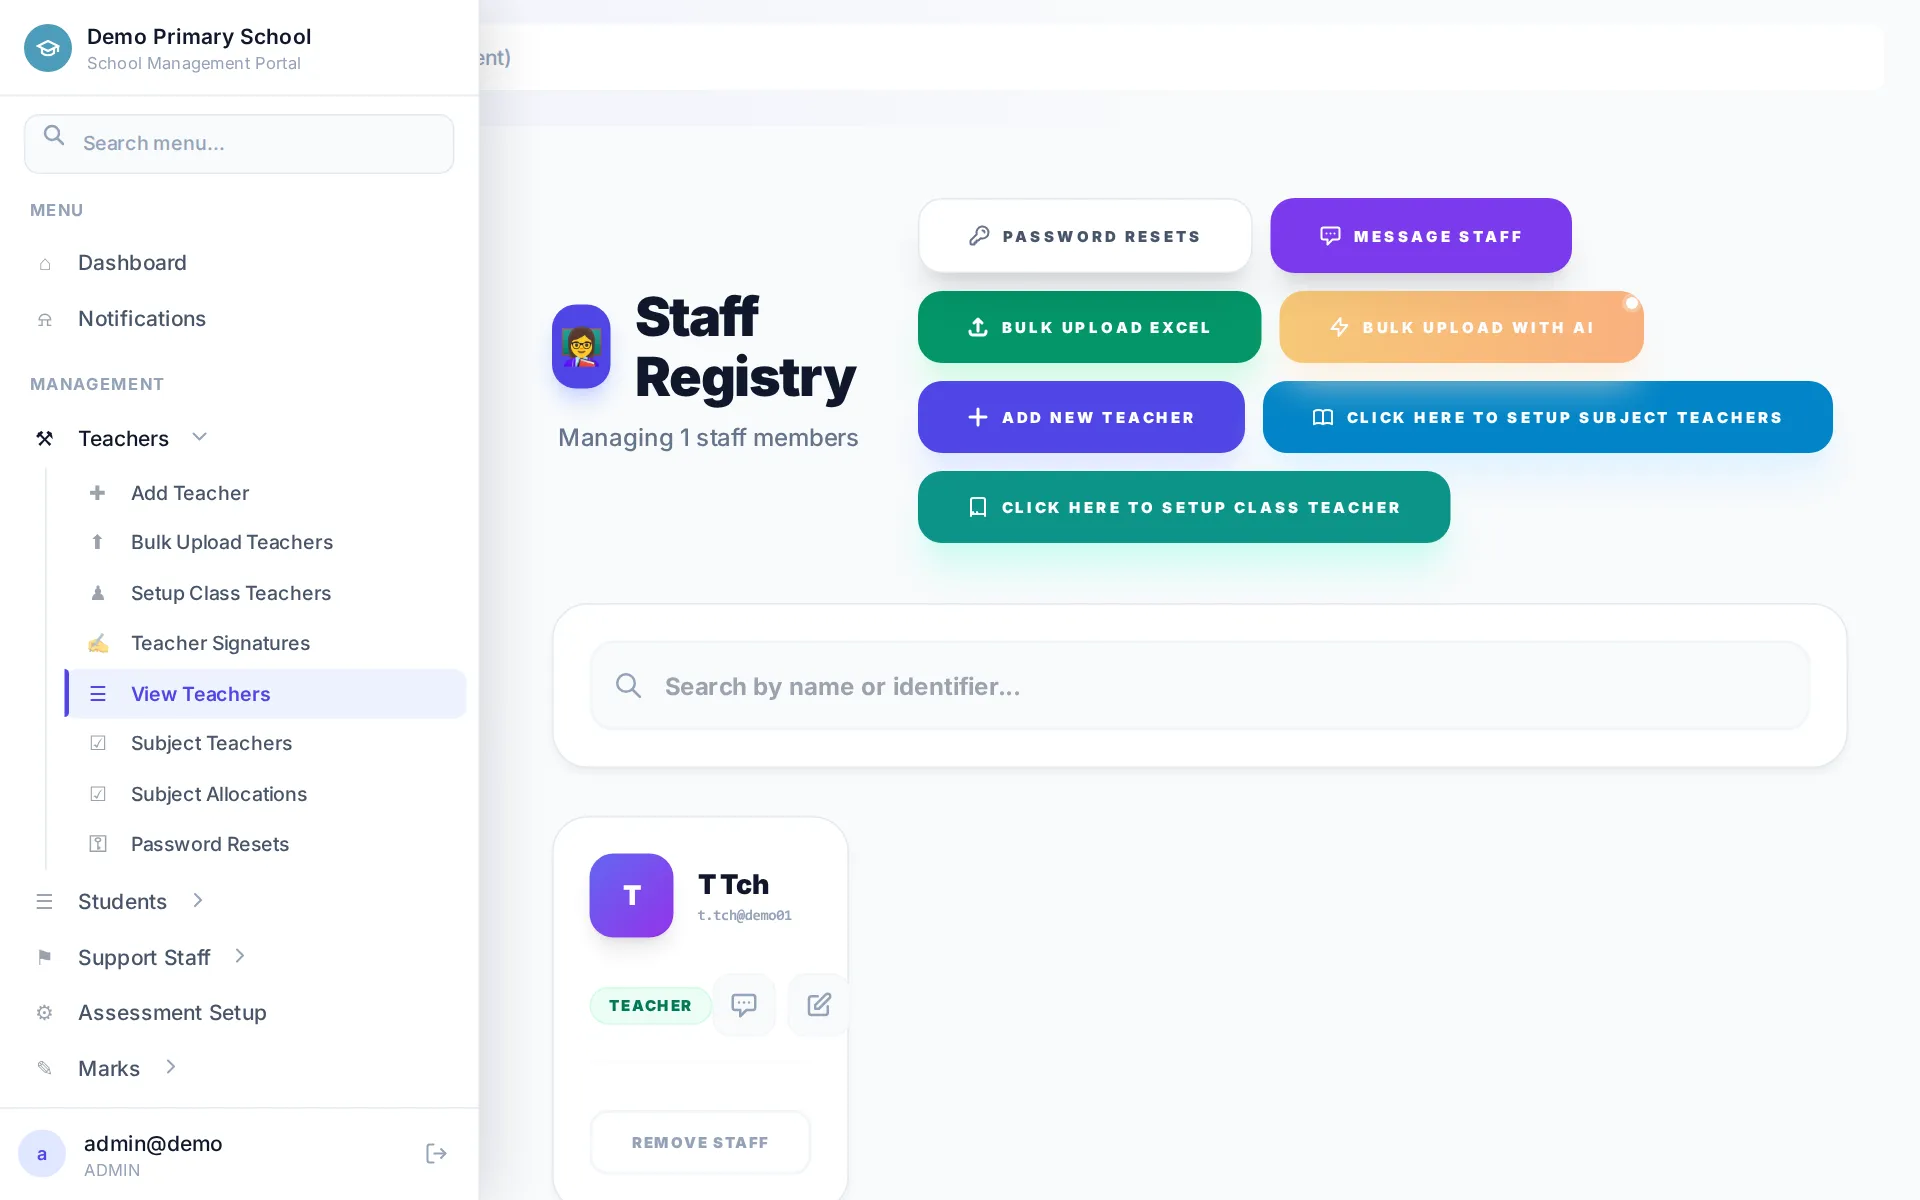
Under Teachers, add each teacher with their subjects. A teacher can be marked as a class teacher for a stream — that unlocks their class finance view and attendance tools. Subject assignments feed directly into the timetable generator and marks entry.
6. Set up fees
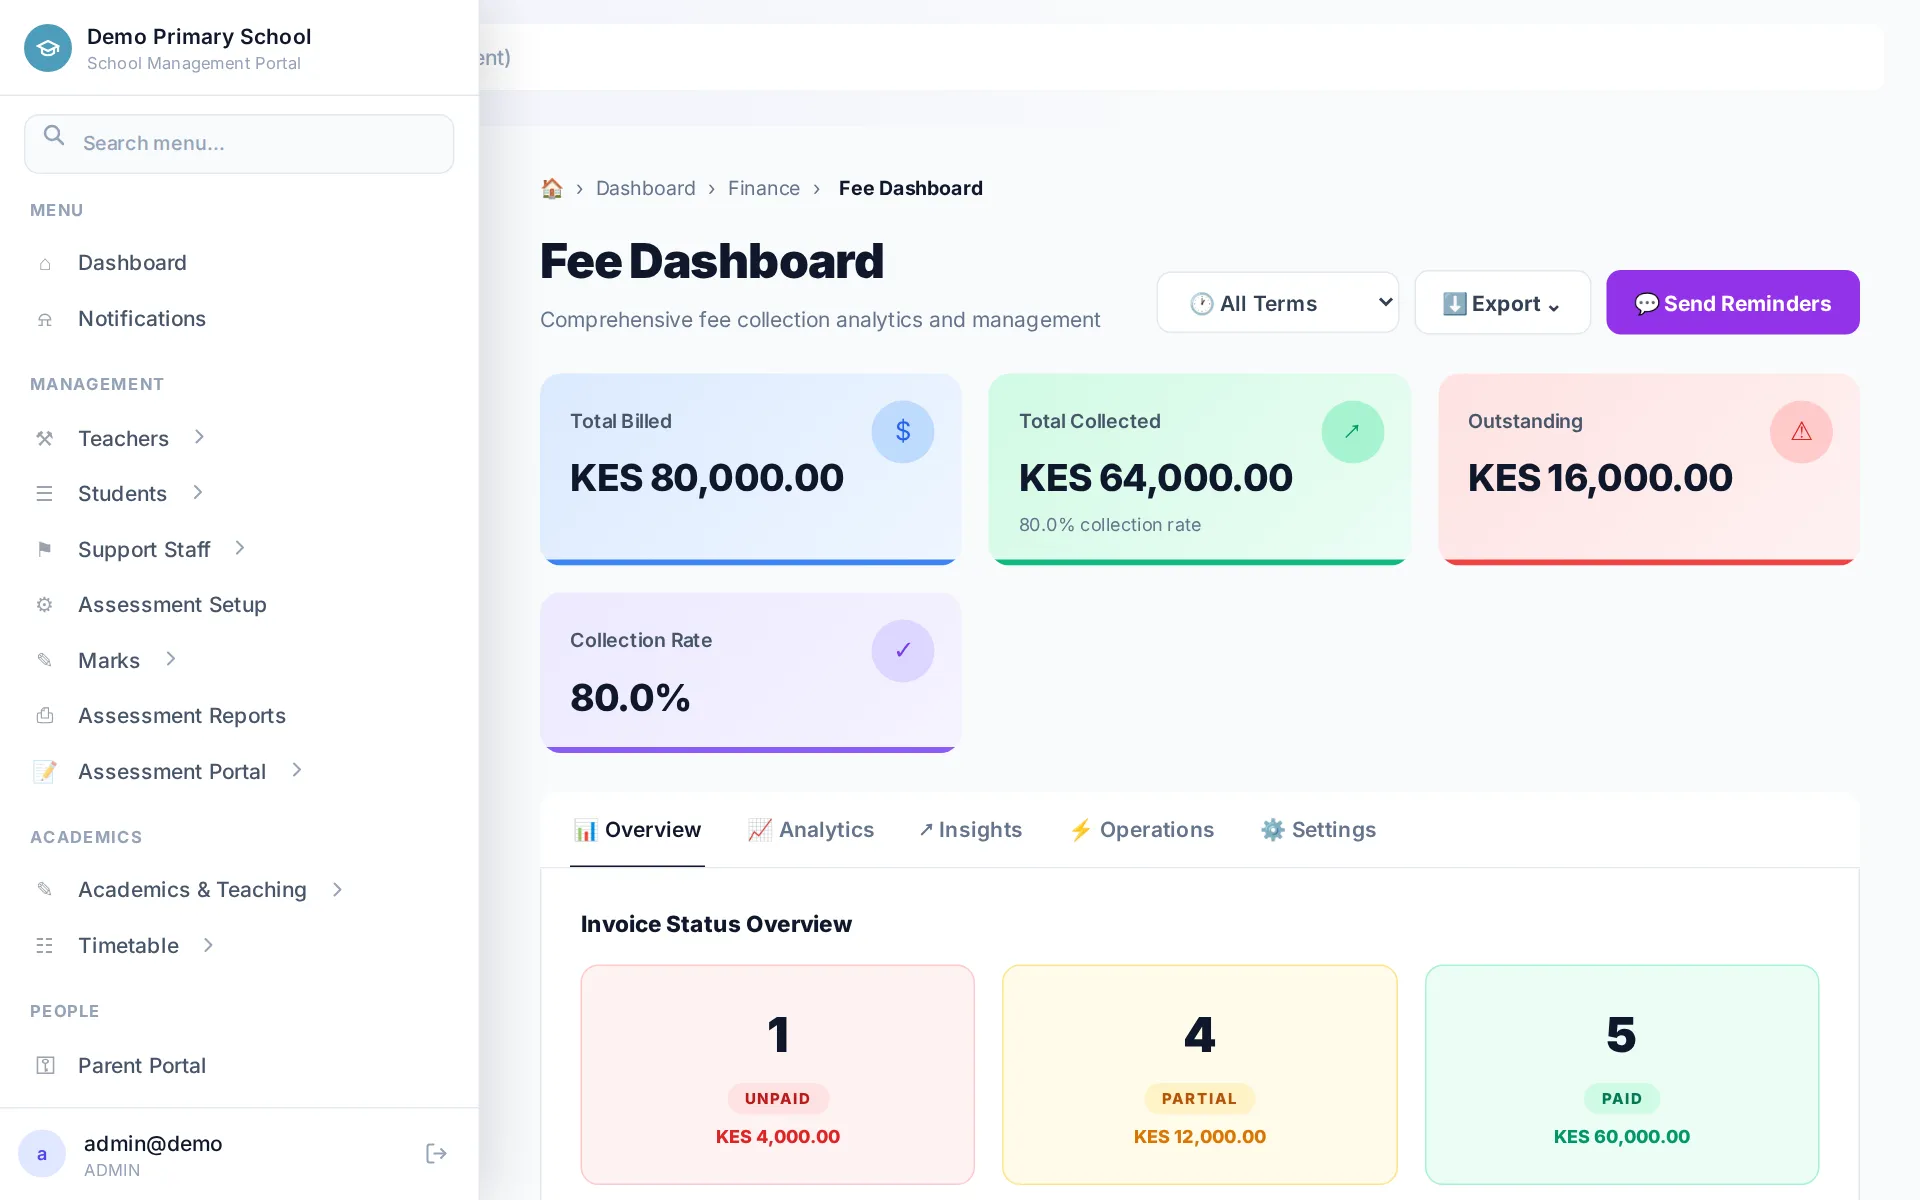
In Finance → Fee Structures, create a structure per grade per term — tuition, transport, lunch and so on — then use Assign in bulk to bill a whole class in one action. Parents can pay by M-Pesa, cash or bank; every verified payment lands in the student's ledger and on the dashboard.
7. Your timetable and library
Timetable: define the day structure (periods, breaks, double slots) in Timetable → Setup, set lessons-per-week in Allocations, paint availability on the selection grid, then hit Generate. Publish to share with teachers and print the five PDF outputs.
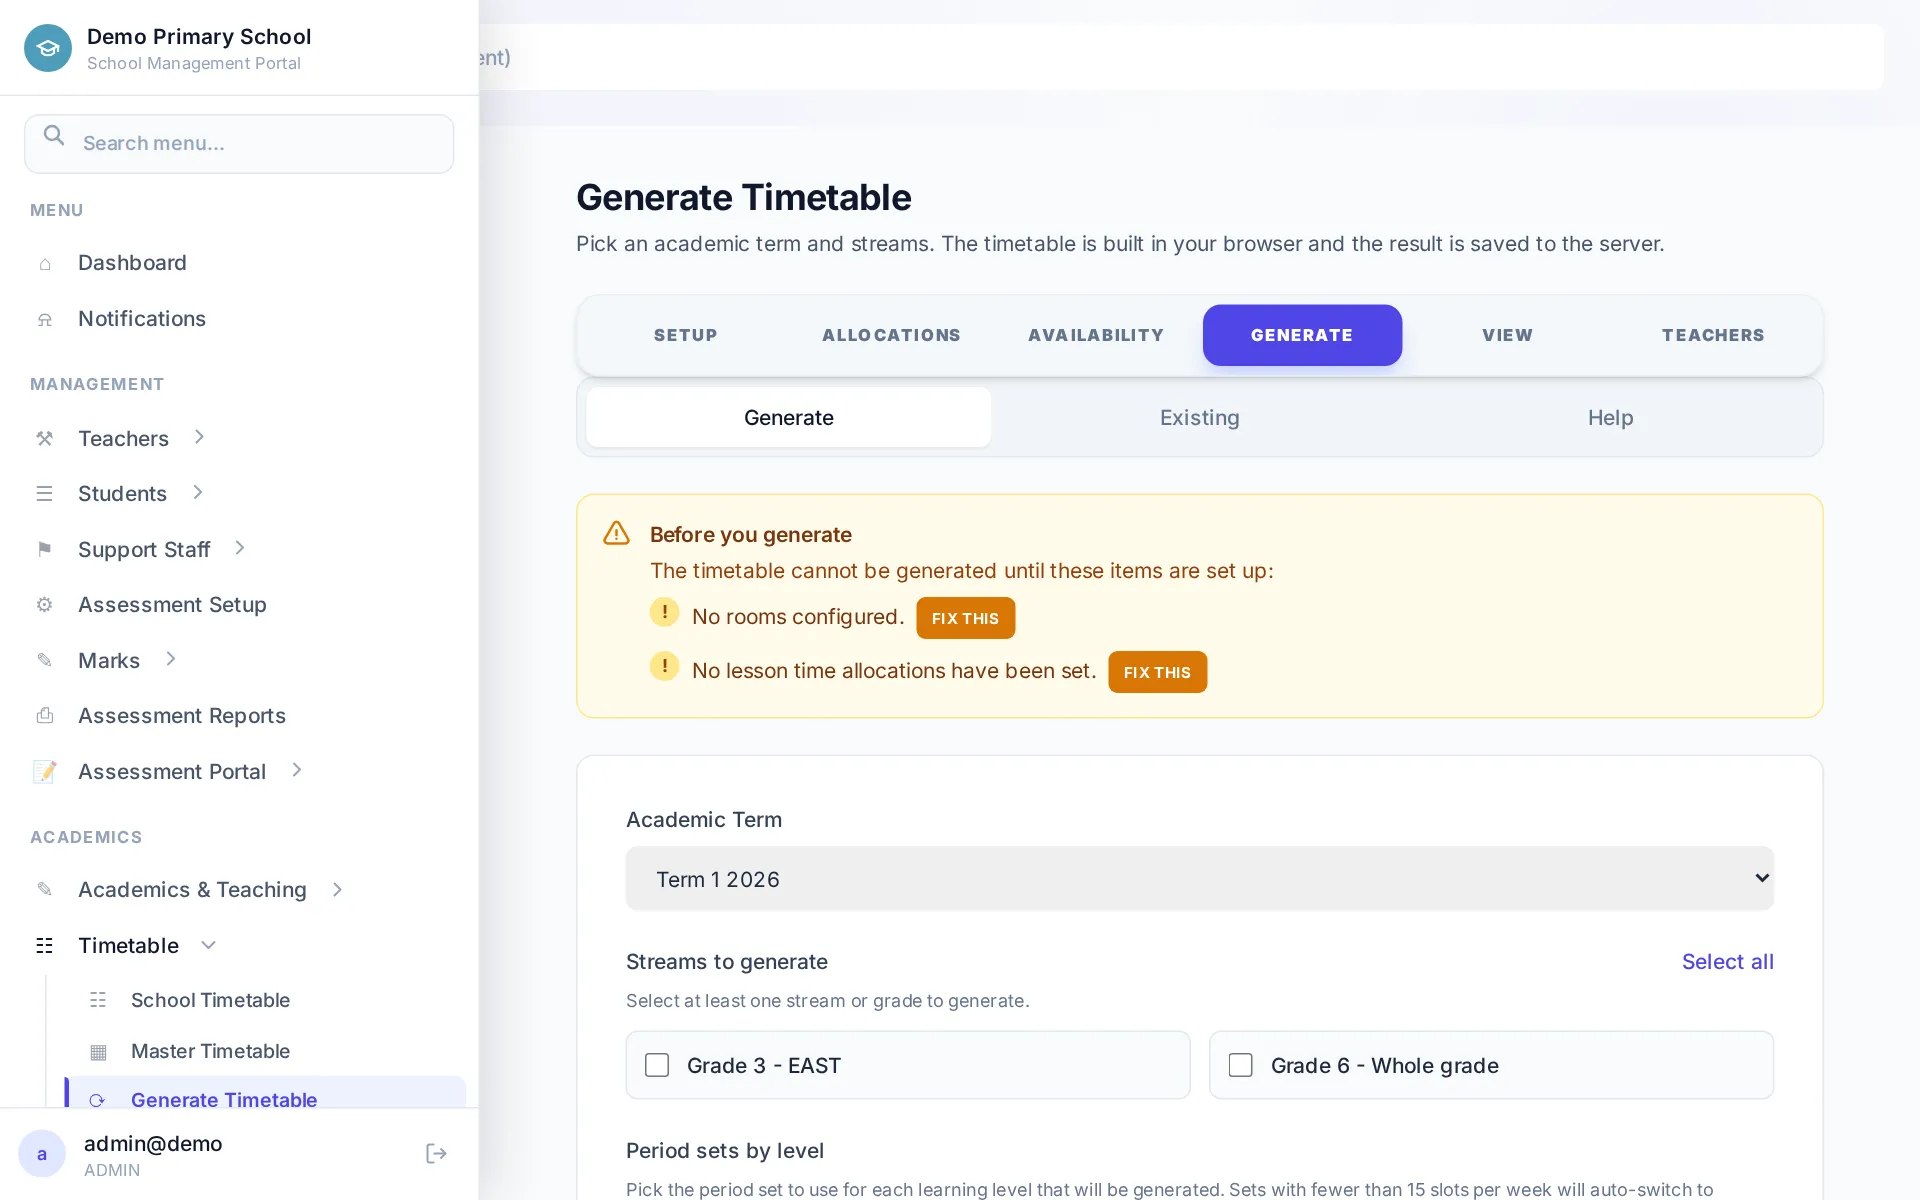
Library: add categories and books in the catalogue, then issue and return from Circulation. Borrowing limits are enforced automatically — overdue returns post a fine to the student's fee ledger.
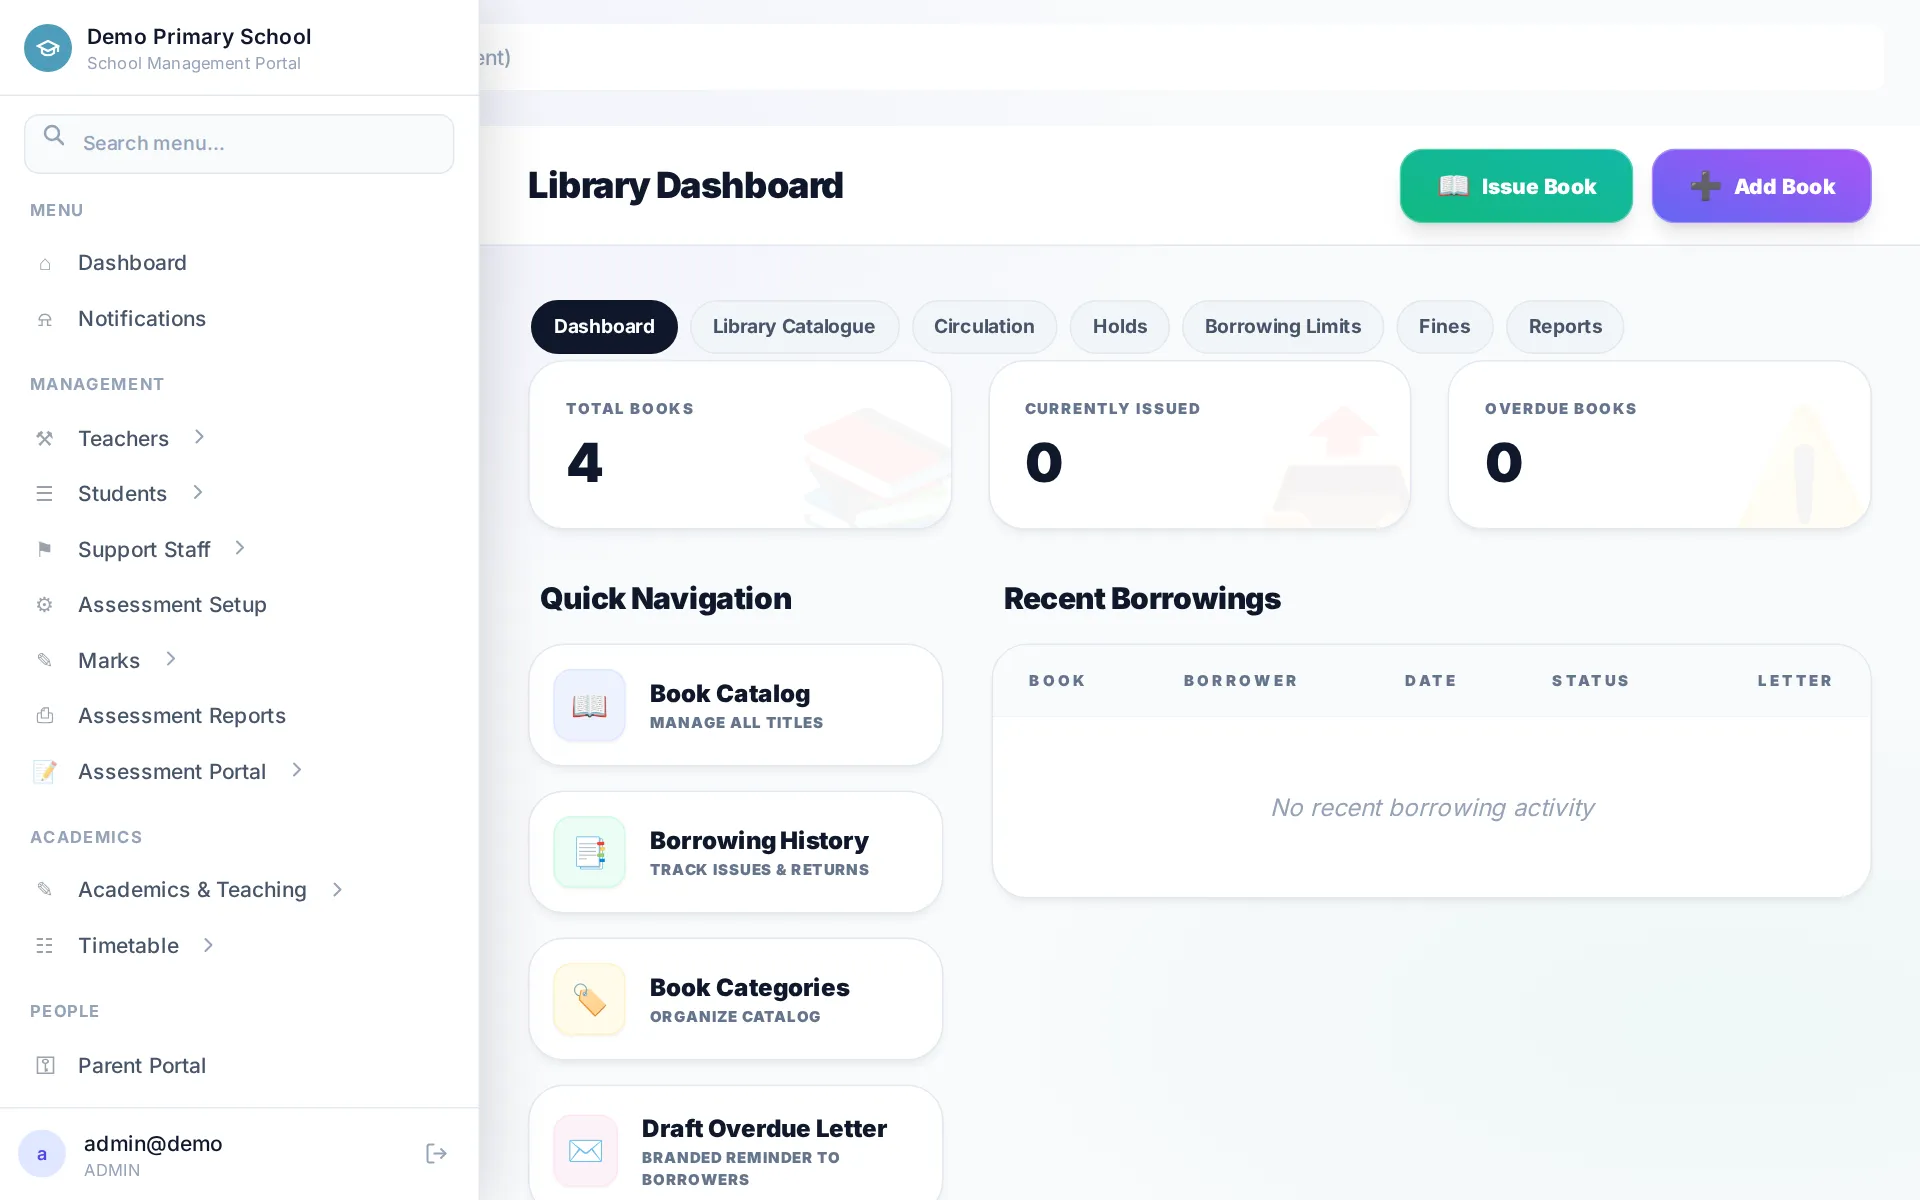
What's next?
- Assessments: enter marks and generate CBC-aligned report cards.
- Parents: share access codes so guardians can see fees, results and notices.
- Certificates: issue branded leaving and merit certificates with public verification.